

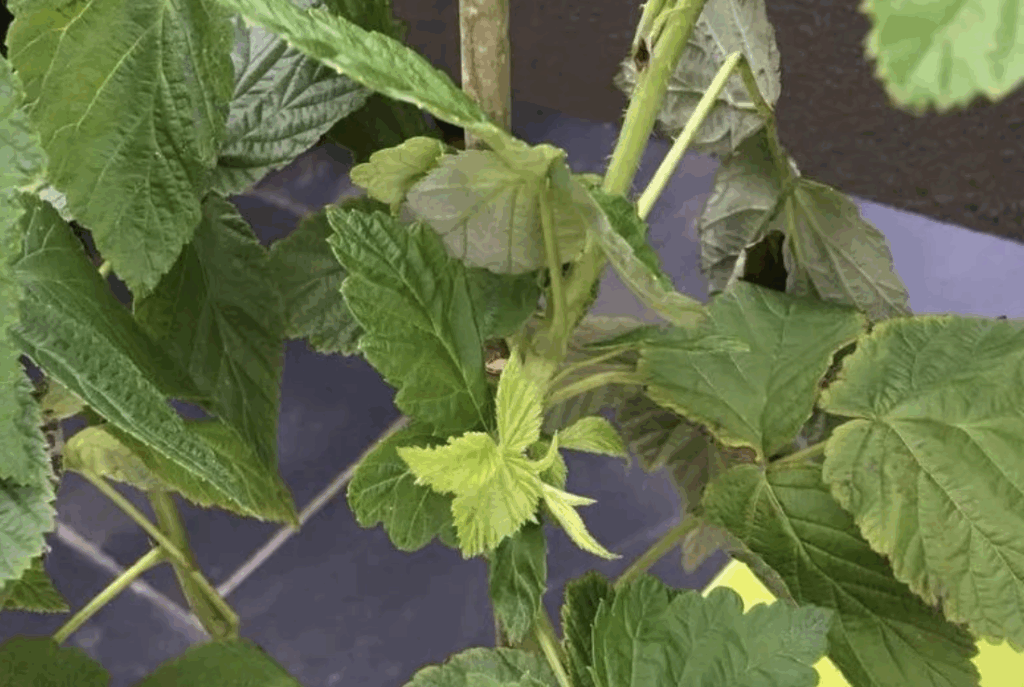
After the Spring Festival, many flower lovers find their potted raspberries sprouting new buds. Don’t rush to water them! By taking care with seedling selection, soil preparation, and daily care, you can not only help your plants grow vigorously but also harvest branches full of juicy, sweet-and-sour berries—your own “home berry paradise” made simple.
Step 1: Seedling Selection & Soil Mix
Varieties: Red raspberries are highly ornamental and produce fruit abundantly; yellow raspberries are exceptionally sweet. Beginners should choose disease-resistant types that tolerate cold and can be grown in both northern and southern regions.
Containers: Use a breathable clay or gallon pot at least 30 cm in diameter and 40 cm deep. Drill 3–5 drainage holes at the bottom (you can even DIY with a milk-tea cup—just add extra side holes for aeration) to prevent waterlogging and root rot.
Soil mix: Combine 3 parts leaf mold + 2 parts coco peat + 1 part perlite, and mix in a handful of well-rotted sheep manure or earthworm castings. Adjust pH to 5.5–6.5, as raspberries prefer slightly acidic soil. Leave 2 cm space at the top of the pot and cover with maifan stone to reduce splashing when watering.
Step 2: Watering & Light
Watering: In spring and autumn, water every 2–3 days, thoroughly soaking when the top 2 cm of soil feels dry. In summer, water twice daily (morning and evening, avoiding midday heat). During fruit development, increase watering slightly but never allow standing water at the bottom. In winter, water sparingly when the soil is just dry, avoiding “cold shock” to the roots.
Light: Provide at least 6 hours of direct sunlight daily. A south-facing balcony is ideal. In summer, use sheer curtains at noon to prevent sunburn. Without enough light, plants become leggy, produce fewer berries, and the fruit will lack sweetness.
Step 3: Pruning & Training
Spring: Before budding, cut away dead or weak stems. Keep 5–7 strong main canes per plant, spaced apart for good air circulation and light penetration.
Summer: When new shoots reach 30 cm, pinch off the tips to encourage side branches (these are the main fruiting stems). When side branches reach 15 cm, pinch again to keep plants compact and prevent lodging.
Tools: Sterilize pruning shears with alcohol. After cutting, apply fungicide (such as carbendazim) to wounds to prevent infection.
Step 4: Fertilization & Support
Base fertilizer: Add bone meal and well-rotted chicken manure at the bottom of the pot during transplanting for long-term nutrient release.
Top dressing (by stage):
Budding stage: Apply diluted soybean meal water (1:100) to promote vigorous leaf and shoot growth.
Pre-flowering: Spray potassium dihydrogen phosphate solution (1:1000), both on leaves and into the soil, to encourage abundant flower buds.
Always follow the rule: apply light fertilizer more often. Overfertilization burns roots—better less than too much!
Support: Use bamboo stakes to build a “#”-shaped trellis. Tie canes gently to keep fruit off the ground, prevent breakage, and create a tidy appearance.
Step 5: Pest & Disease Management
Powdery mildew (white coating on leaves): Spray with baking soda solution (1 g per 500 ml water) once a week.
Stem rot: Scrape off diseased tissue, apply fungicides such as Amistar (azoxystrobin) and prochloraz, and let dry before replanting.
Insect control:
Aphids / fruit flies: Use yellow sticky traps—eco-friendly and effective.
Stem-boring beetles: Spray with chlorantraniliprole (low-toxicity), targeting stems and soil surface.
Step 6: Harvest & Overwintering
Harvesting: Fruits are sweetest when fully red and come off easily at a touch. Pick in the morning when sugar levels peak for the juiciest taste.
Winter care:
North: Move pots indoors, keep temperatures above 5°C, and water sparingly when soil dries.
South: Wrap pots with straw outdoors, cover canes with plastic bags to block wind, and stop fertilizing to allow dormancy.
Extra Tips
Propagation by cuttings: In spring, cut 10 cm healthy shoots, dip in rooting powder, and insert into vermiculite. Keep moist and shaded, and new roots will form in about a month—one plant becomes many.
Fruit bagging: Cover fruiting branches with insect-proof bags to protect against birds and fruit flies, keeping berries clean and perfect.
In just three months after planting, you can enjoy your own raspberries—so sweet and juicy they’ll make your eyes squint with delight! Invite friends to join in, and by next year, you’ll have your very own “berry freedom.”


Leave a Reply