

“Repotting a Phalaenopsis orchid isn’t something you can do well without a few tricks up your sleeve,” says an experienced orchid shop owner. And indeed, having a professional do it once can cost around 25 yuan. But is this just a way for shop owners to make money, or is it really that tricky?
The answer is somewhere in between. It’s not exactly rocket science, but for beginners who don’t know how much potting medium to use or how firmly to pack it, it can be a challenge — and a poorly done repotting can slow the orchid’s recovery and future growth.
So how do you repot correctly? Here’s a simple 4-step method:
Step 1: Add a drainage layer.
Place a 1–2 cm layer of bark chips at the bottom of the pot (this works for any type of pot). The gaps between the bark pieces allow excess water to drain quickly, keeping the roots from sitting in stagnant water. I once skipped this step out of laziness — within days, waterlogged media nearly rotted my orchid’s roots. Lesson learned: now I always add this bark layer, and I’ve never had that problem again.
Step 2: Place the orchid in the pot.
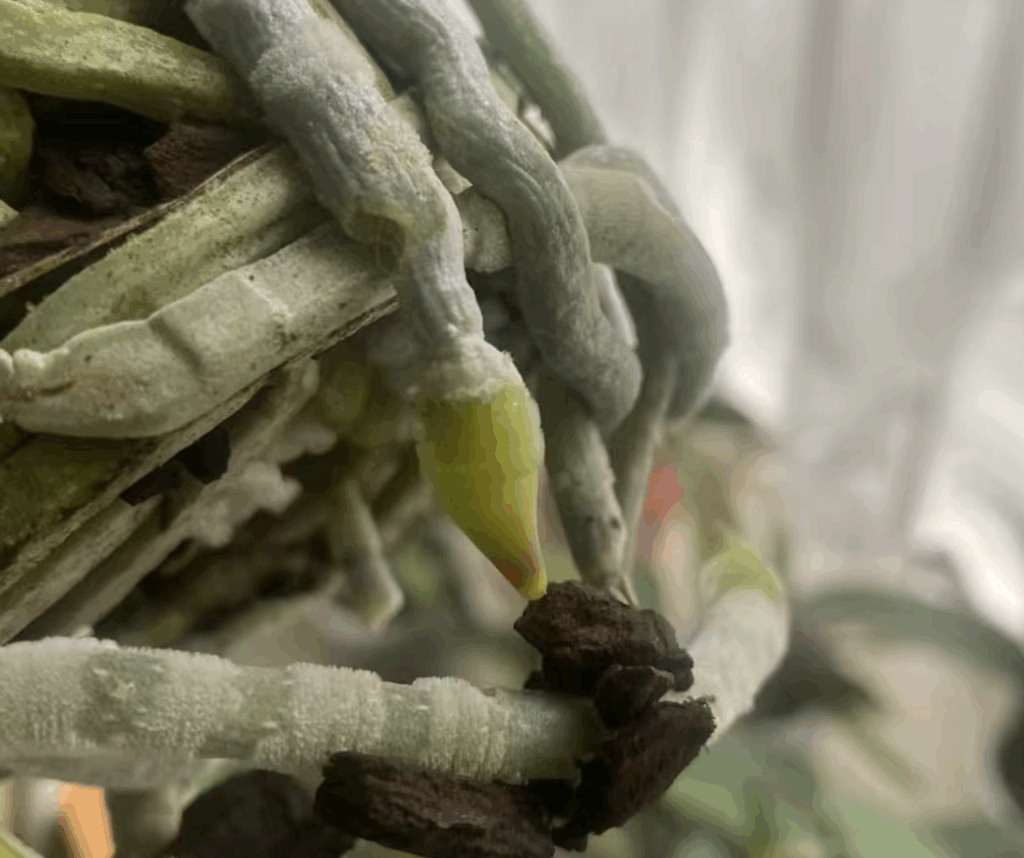
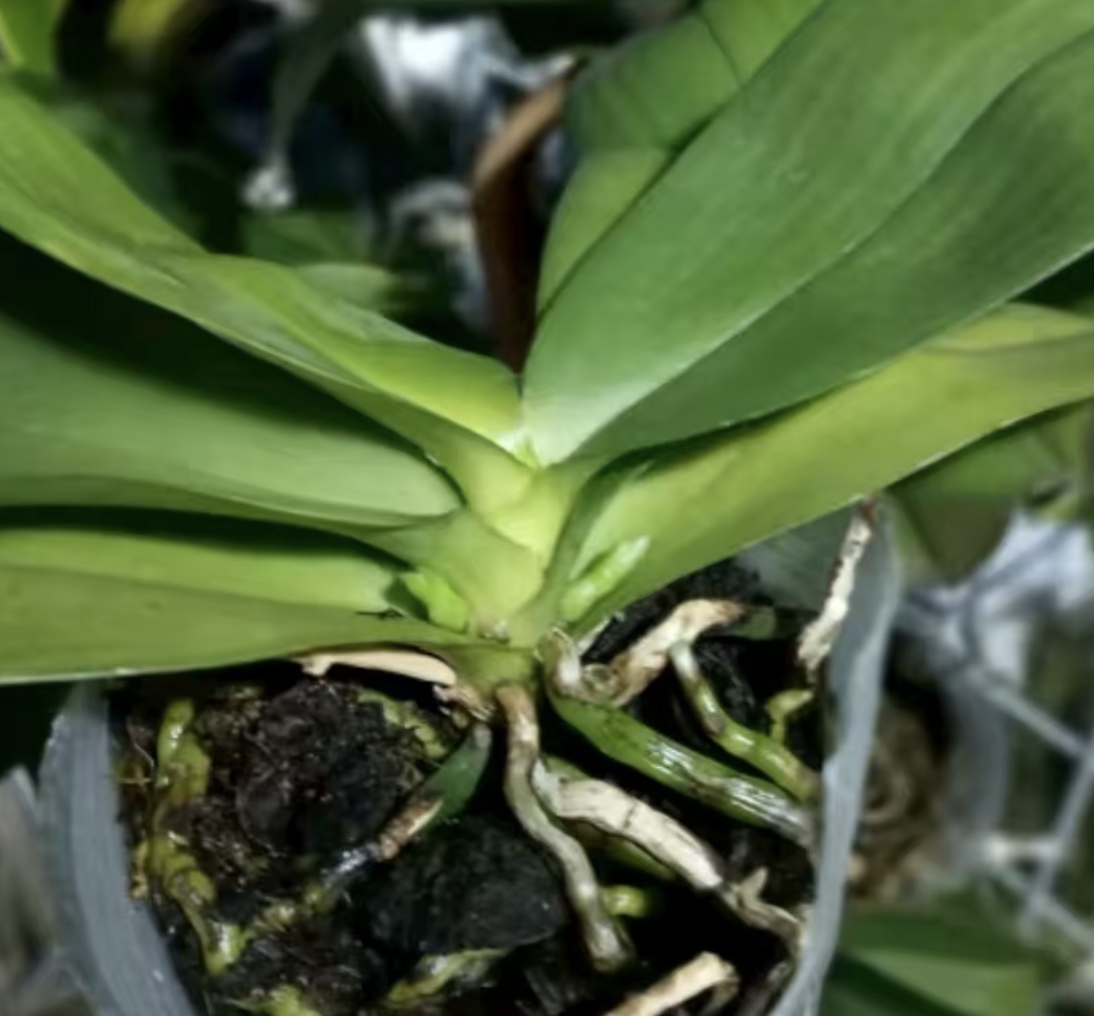
Gently remove the orchid from its old pot — don’t pull on the leaves or tug the roots. Carefully place it into the new container. If the roots are very long, coil them slightly along the inner wall of the pot instead of forcing them straight down. Never cram them in — that can snap the roots. One grower shared that after breaking several roots by pushing them in, their orchid produced noticeably fewer blooms that season.
Step 3: Fill in with sphagnum moss.
This part takes a little patience. Use tweezers to tuck pre-soaked, gently squeezed sphagnum moss between the roots. Pack it firmly enough to support the roots, but not so tightly that it crushes them — the moss should lightly wrap around the roots. This keeps the roots stable, helps them absorb moisture evenly, and prevents the plant from wobbling in the pot.
Step 4: Top with bark.
Finally, add a thin layer of bark chips on the surface of the pot. Don’t skip this step — it’s surprisingly helpful. It shades the surface so moss doesn’t grow too easily, and it keeps the orchid’s crown area dry and well-ventilated, which is especially important in summer to reduce the risk of crown rot.
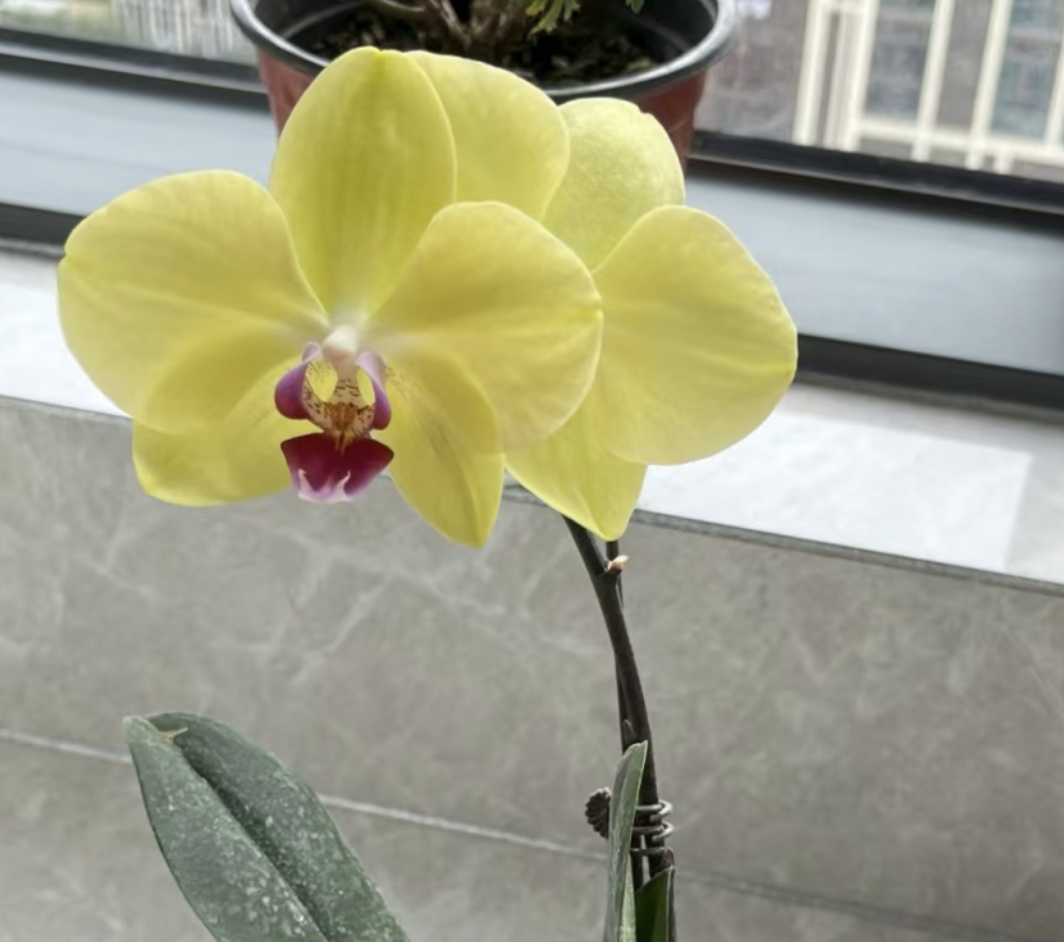
Follow these steps and your orchid will settle into its new home more quickly and grow healthier roots for the next blooming season.

Leave a Reply