
As September arrives and the autumn breeze begins to blow, many flower enthusiasts notice that their Phalaenopsis orchids are sprouting new shoots. These new shoots, growing close to the mother plant, may seem like they could be competing for nutrients. So, how should you divide them? Is September a good time to do so? Here’s a guide that even beginners can follow.

The most important factor for dividing Phalaenopsis orchids is temperature. It should be between 15°C and 25°C, which is the ideal range for the roots to recover quickly and avoid rot. By September, most regions are no longer too hot, with daytime temperatures falling within this range and nighttime temperatures not being too cold. As long as it's not a sudden cold snap in the north or the lingering heat in the south, dividing can generally be done. But remember, if the temperature is below 12°C or above 28°C, don’t force the division. Wait until the weather stabilizes, as the new shoots could easily die.
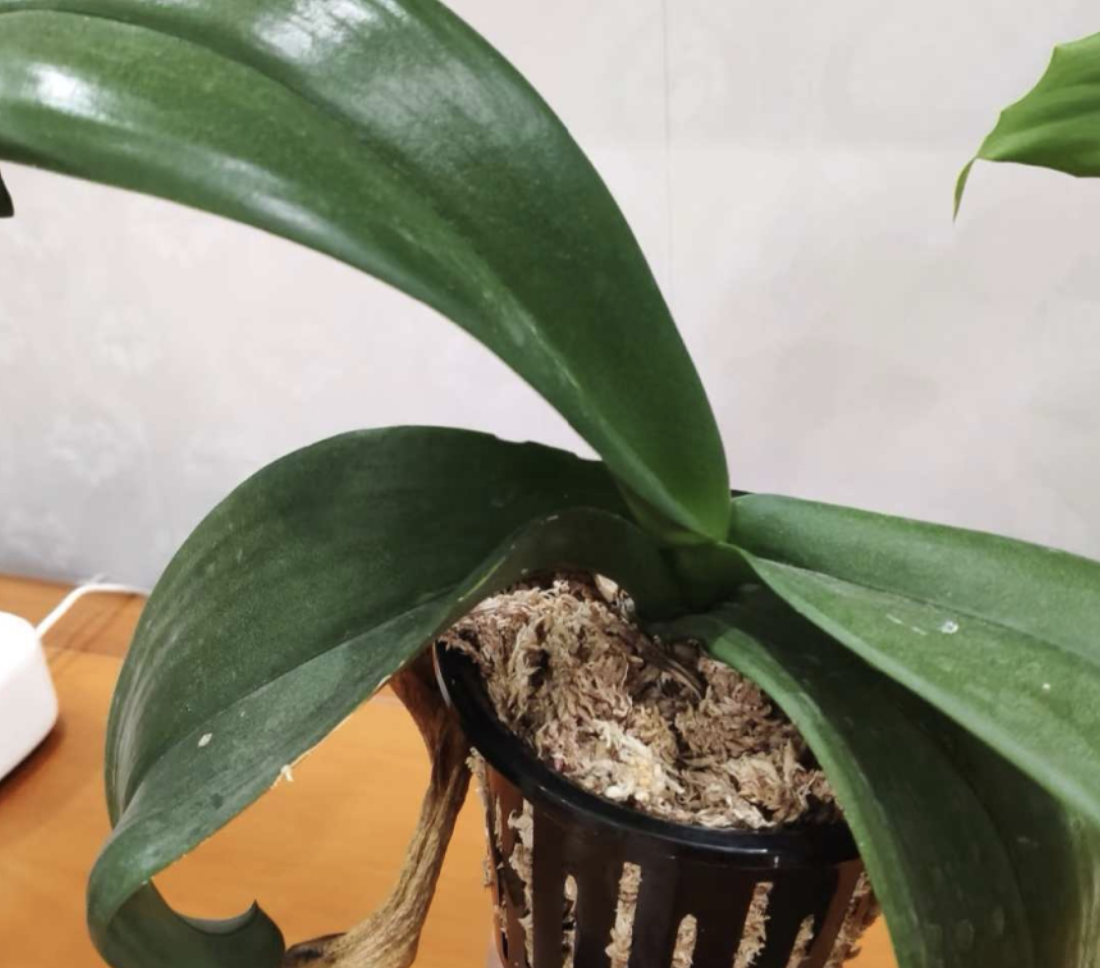
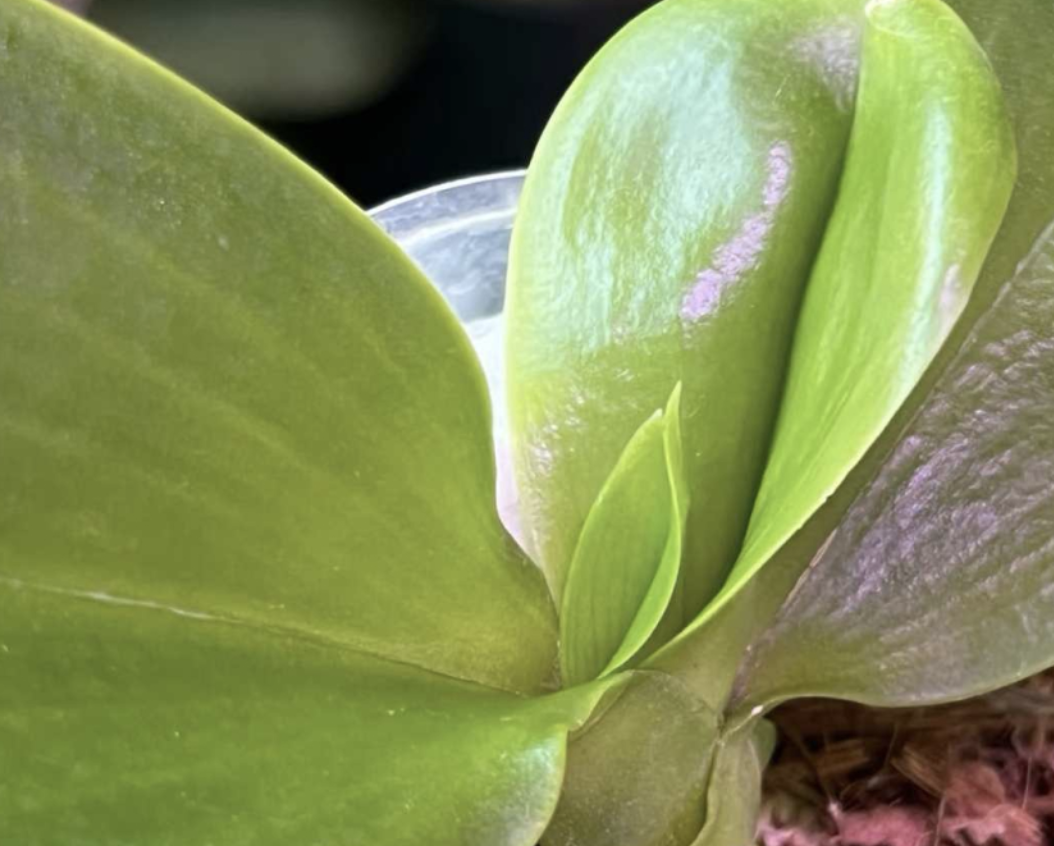
Now, the crucial part: How to divide Phalaenopsis orchids when they grow new shoots? Don't rush. Follow these steps carefully. First, wait until the new shoot has grown enough—not just a tiny sprout. It should have at least 2-3 aerial roots that are 5 cm or longer, and 3-4 leaves. This ensures that the new shoot will survive when divided. If the new shoot doesn’t have roots, it’s better to let it grow for another couple of months.
The preparation is simple: Get a sharp pair of scissors (sterilize them with alcohol beforehand), prepare new potting material (either sphagnum moss or bark, soaked and squeezed dry), and find a few small, breathable pots. Before dividing, gently remove the orchid from its pot and carefully peel away the old potting material from the roots, being careful not to tear the roots. Look closely at the connection point between the mother plant and the new shoot. Find a natural separation, and if the shoots are too close together, use scissors to cut between them. Apply some fungicide to the cut to prevent infection.
Here’s a little tip: Don’t mix up the roots of the mother plant and the new shoot. After cutting, check to make sure the mother plant has healthy aerial roots and leaves, and that the new shoot has its own independent roots and leaves. If you find any rotten or hollow roots, trim them off before putting the plant into the new pot.
Next comes potting. Start by placing some broken bark at the bottom of the new pot for drainage. Then, place the new shoot in the pot, tightly wrapping the roots with the pre-soaked sphagnum moss, and gently place it into the pot, making sure not to press too hard to allow air circulation for the roots. Similarly, for the mother plant, use a slightly larger pot and refill with fresh potting material. Pack it in tightly, but be careful not to bury the base of the leaves, as this could lead to rot.
After potting, proper care is essential: Don’t expose freshly divided Phalaenopsis orchids to direct sunlight. Place them in a spot with indirect light, like an east-facing windowsill. Water sparingly, just enough to keep the potting material slightly moist—too much water can lead to root rot. Don’t rush to fertilize; wait for about a month until you see new roots on the new shoot or new leaves on the mother plant, then apply a diluted, weak fertilizer.
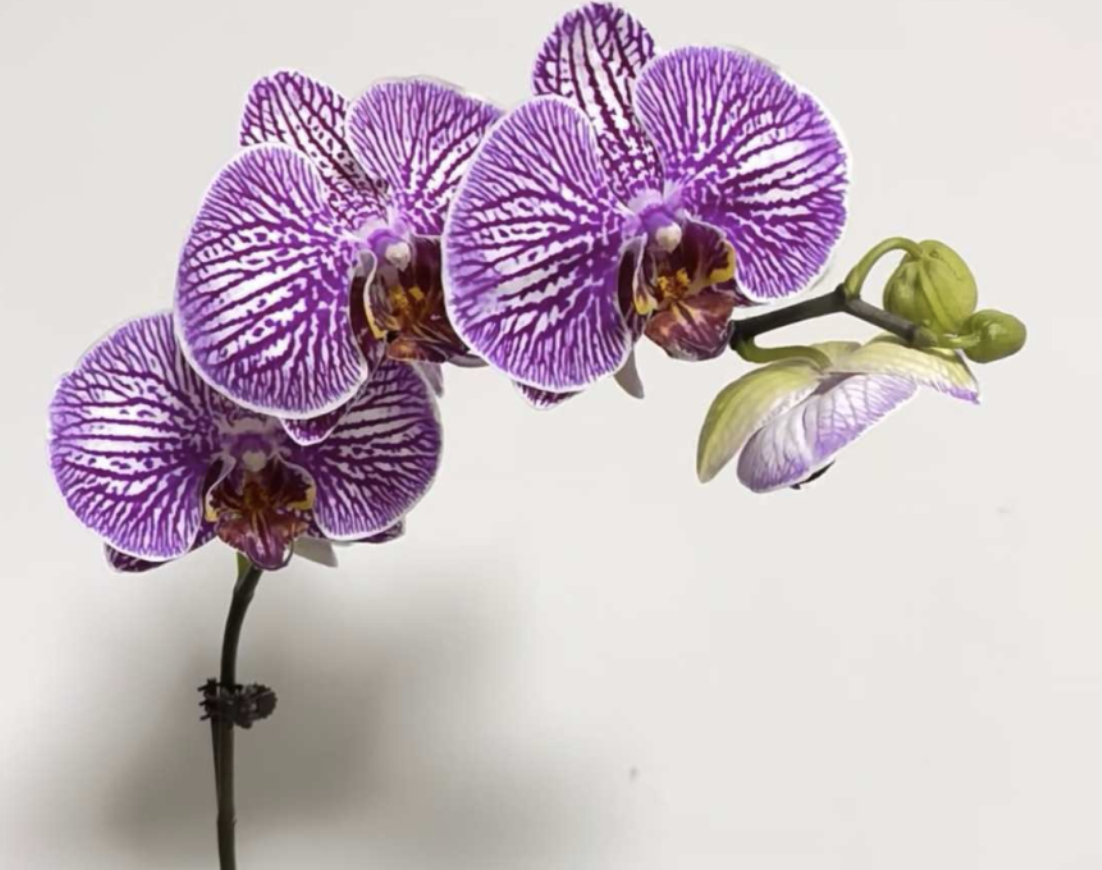
During the first two weeks after division, observe the plants closely. If you notice yellowing leaves or blackened roots, it could indicate root rot. In that case, remove the plant from the pot, trim off the rotten roots, and repot it. As long as the temperature is right, the new shoot is healthy, and the steps are followed correctly, the new shoot may even produce a flower spike by the end of the year, and you could see your little Phalaenopsis orchid bloom next year!
Leave a Reply