

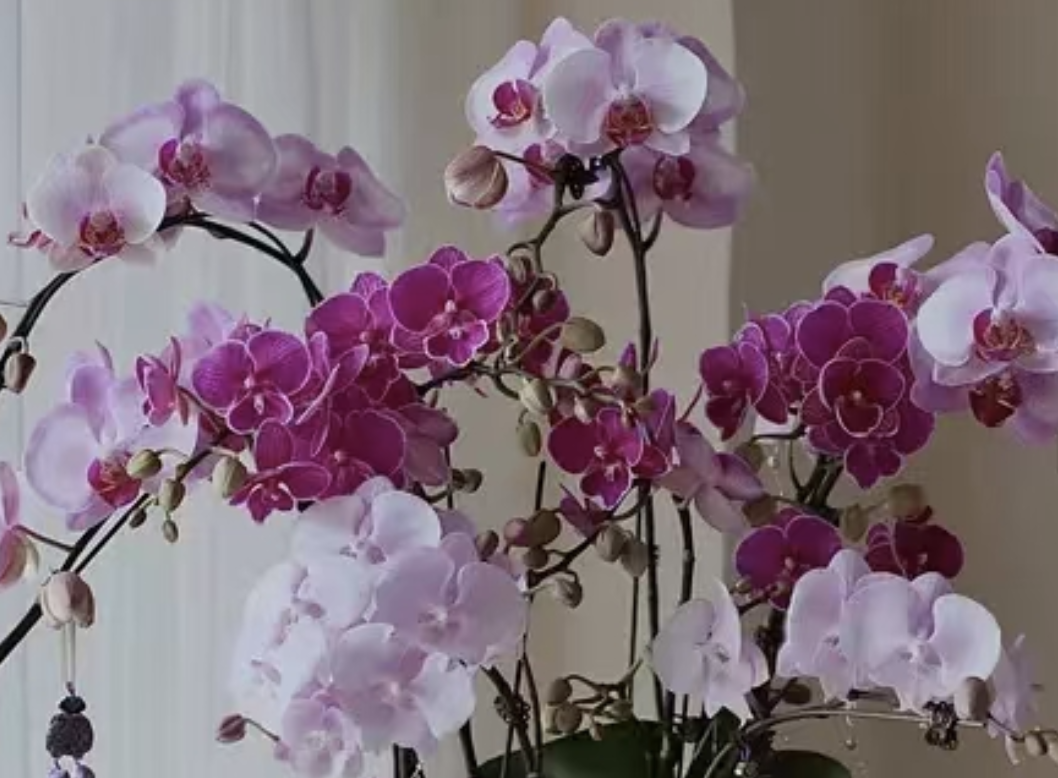
When it comes to Phalaenopsis orchids, they’re a favorite for many plant lovers, known for their elegant and ethereal flowers. However, one common problem is root rot. How can you tell if your orchid has root rot? The roots of Phalaenopsis orchids are different from regular plants—they’re thick, fleshy, and semi-transparent air roots. When healthy, they feel firm and have a slightly greenish or silvery-white color. Up close, you can see tiny hairs on the roots, which help absorb nutrients and water.

If you notice the roots becoming soft and mushy, and when you squeeze them they flatten, or if the color turns blackish-brown or dark brown, that’s a clear sign of root rot. In more severe cases, the roots may become slimy, and there might even be a foul odor of decay. At this point, you must act quickly, or the entire plant could suffer.
So, how can you save an orchid with root rot? Don’t panic—just follow these steps:
Step 1: Carefully remove the orchid from the pot. If you're using sphagnum moss or bark, gently loosen it without damaging the healthy roots. Once removed, rinse the roots thoroughly with clean water to expose them fully, making it easier to assess their condition.
Step 2: Inspect the roots carefully and trim off all the rotting parts. Use clean scissors, and cut off the rotten roots, continuing until you see healthy, white, firm roots. Be thorough—leave no rotting roots behind, as they could continue to infect the plant. After trimming, soak the roots in a fungicide solution (such as Mancozeb) for about 10-15 minutes to disinfect them, then remove and place the orchid in a well-ventilated area to dry for at least half a day, allowing the wounds to heal.
Step 3: Repot the orchid with fresh potting material. The old pot and potting material should not be reused. It's best to use a new pot or disinfect the old one thoroughly. For potting material, sphagnum moss or bark are great options, as they are breathable and don’t retain excess water, which is perfect for orchid roots. If using sphagnum moss, soak it in water first, then squeeze out excess moisture. For bark, choose well-aged bark with an appropriate particle size.
Step 4: Repot the orchid. Place the dried orchid into the new pot and fill in with the prepared potting material. Gently press it down, but don’t bury the roots too deeply—leave some of the air roots exposed. After repotting, don’t water immediately. Place the orchid in a well-ventilated spot with indirect light, and wait 2-3 days before watering. When you do water, water it thoroughly.
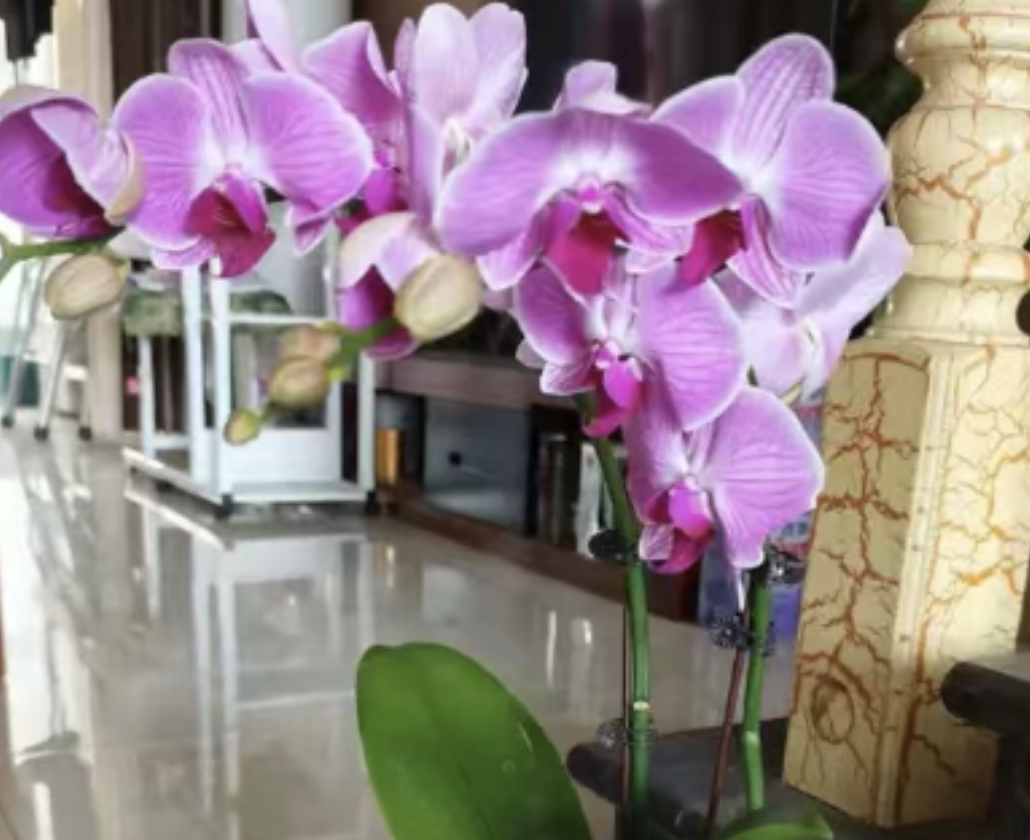
Moving forward, be extra cautious with watering. Don’t water too often—wait until the potting material is nearly dry, then water thoroughly, but never let water accumulate in the pot. Ensure the environment is well-ventilated and that the plant gets indirect light, not direct sunlight. Keep the temperature between 15 to 25°C, and over time, the orchid should recover, grow new roots, and may even bloom again.
In fact, root rot in Phalaenopsis orchids is usually caused by overwatering or using non-breathable potting material. As long as you pay attention to the plant’s needs and address any issues promptly, even orchids with root rot can be saved.
Leave a Reply