
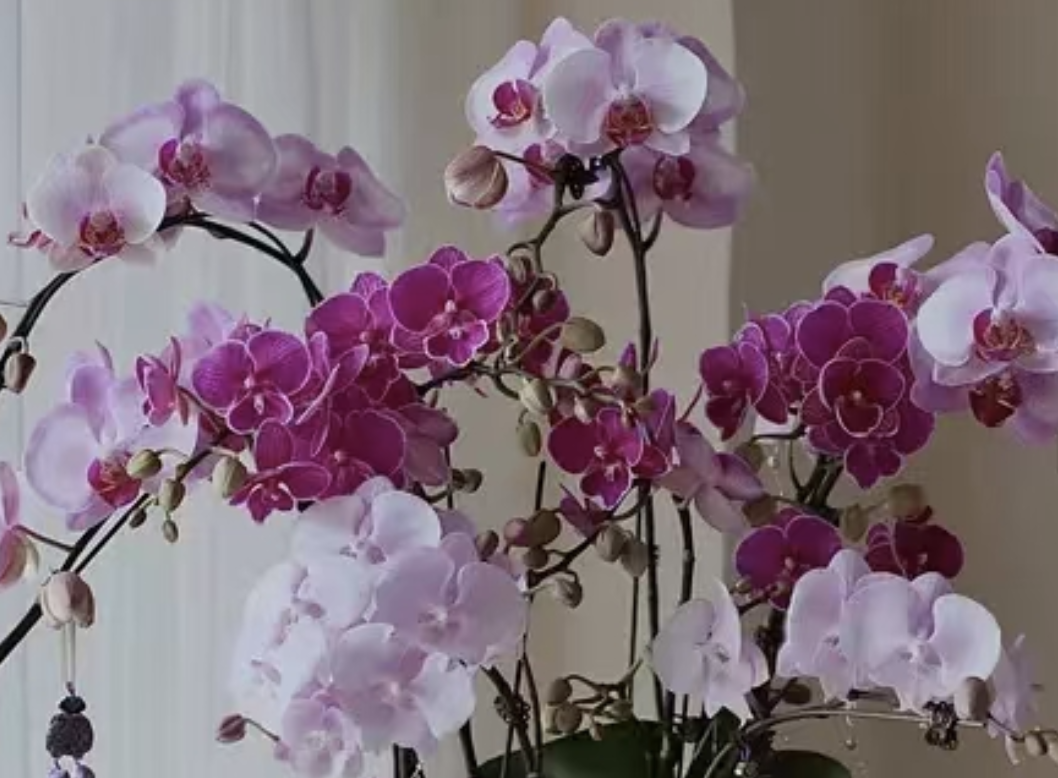
The emergence of side shoots in phalaenopsis (moth orchids) indicates strong vitality. Properly separating these shoots not only prevents excessive nutrient consumption but also propagates new plants. However, improper separation can easily damage the mother plant and side shoots, or even cause infection and rot. Mastering scientific methods for separating and cutting side shoots is key to successfully cultivating new plants.
1. Assess Side Shoot Maturity
Before separation, determine the maturity of the side shoot. An ideal side shoot should be 5–8 cm tall, with 2–3 aerial roots over 3 cm long. The roots should be white or light green, plump, and firm. If the shoot is too small or its roots are underdeveloped, survival rate after separation will be low. If it is too large, its roots may be tightly intertwined with the mother plant’s, increasing the risk of severe damage during separation.
2. Choose the Right Timing
The optimal time for separation is spring or autumn, when temperatures are stable at 18–28°C. Phalaenopsis are most active during these seasons, with faster wound healing and lower infection risks. Avoid operating during the flowering period, extreme summer heat, or winter cold. Separating shoots during flowering can affect the mother plant’s bloom, while plants recover poorly in extreme temperatures, increasing the likelihood of rot.
3. Prepare Tools and Materials
Gather the following before starting:
Sharp gardening shears or a blade (sterilized with alcohol or carbendazim solution)
Clean sphagnum moss or bark substrate
Carbendazim powder
New flower pots
Ensure all tools and materials are sterile to minimize pathogen exposure.
4. Separation Steps
Gently Remove from Pot
Carefully take the phalaenopsis out of its original pot and remove old substrate from the roots, handling them gently to avoid damage. If the substrate is compact, soak the roots in clean water for 5–10 minutes to soften it before cleaning.
Locate the Side Shoot
Examine the junction between the side shoot and the mother plant. Identify where the shoot’s roots are relatively independent from the mother plant’s to minimize root damage.
Cut and Separate
Use sterilized tools to make a quick, steady cut close to the mother plant at the junction of the side shoot. Aim for a single clean cut to avoid tearing the wound. If roots are tightly tangled, leave some connected roots and trim them gradually after the shoot is established.
Treat Wounds
Evenly dust carbendazim powder on the wounds of both the mother plant and side shoot, or soak them in a 1,000-fold diluted carbendazim solution for 5–10 minutes to prevent infection. Place them in a cool, ventilated area for 1–2 hours until the wounds dry and form a scab.
5. Transplanting the Side Shoot
Pot Selection: Use an 8–10 cm transparent plastic pot. Add a layer of ceramic pebbles at the bottom for drainage.
Substrate: Fill with moist sphagnum moss or bark.
Planting: Place the side shoot in the center of the pot, (gently spread out) the roots, and gradually add substrate to secure the plant, taking care not to compress the roots.
Post-Plant Care: Place the pot in a well-ventilated area with bright, indirect light, avoiding direct sunlight. Do not water for the first 3–5 days. After the wounds heal, maintain slightly moist substrate (never waterlogged).
6. Mother Plant Care After Separation
Replant the mother plant in fresh substrate and keep it in a warm, humid environment. Reduce fertilization frequency until it resumes growth. Monitor closely for yellow leaves or root rot, and address issues promptly.
Separating phalaenopsis side shoots requires judging maturity, timing, and following strict procedures. With scientific handling, the mother plant can focus nutrients on growth, while new plants are propagated, turning one orchid into multiple—a rewarding horticultural achievement!
How to Separate Phalaenopsis Side Shoots?

Share with
Tagged in :
Leave a Reply