
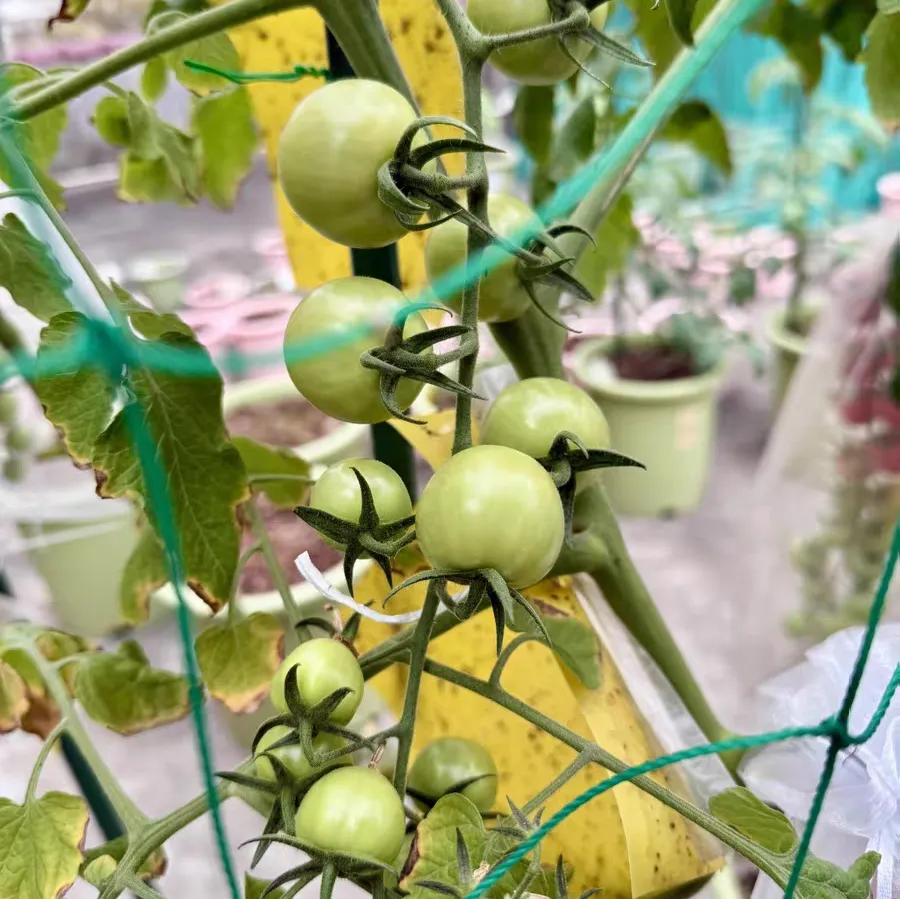
Want to grow tomatoes laden with fruits? Here’s a detailed guide for you.
### I. Transplanting Timing
- **Home-grown seedlings**: The optimal transplanting period is when tomato seedlings develop 5-6 true leaves and robust root systems.
- **Mail-order seedlings**: Upon unpacking, don’t transplant immediately. First, spray the leaves and soil clump to maintain moisture until thoroughly wet, then place them in bright, diffused light for 1 day to acclimate. This process, called "seedling adaptation," helps young plants quickly adjust to the new environment and improves survival rates.
### II. Seedling Condition Management
- **Healthy seedlings**: Home-grown seedlings or vigorous mail-order seedlings can be transplanted directly.
- **Weak seedlings**: If seedlings appear wilted with yellow leaves, perform temporary planting first! Use a 10-12 cm small pot filled with seedling soil or ordinary garden soil. After planting, keep them in diffused light for 3-7 days. Once leaves perk up, move them to a spot with half-day sunlight and apply foliar fertilizer. If new buds emerge after 10 days, it indicates new roots have formed, and they can be transplanted to a large pot in 15-20 days.
### III. Transplanting Methods
1. **Pot selection**:
- Large tomatoes: Use pots with a diameter of 30 cm and height over 25 cm—the larger the pot, the more fruits.
- Dwarf cherry tomatoes: A 20 cm diameter pot suffices.
2. **Soil preparation and fertilization**:
- Line the pot bottom with 10 cm of soil, add 2 handfuls of decomposed sheep manure/cake fertilizer, 1 handful of plant ash + 1 handful of bone meal/eggshell powder, then cover with 5 cm of soil. For simple planting, scatter a small handful of compound fertilizer at the bottom before adding soil.
3. **Planting technique**: If the seedling stem is thin and long, plant it diagonally, burying the lower stem in the soil and leaving only the top 5 leaves exposed. The buried stem segments will gradually grow new roots, making the plant sturdier.
4. **Post-transplant watering**: Water thoroughly immediately after transplanting, but for large pots, only water the area within a 10 cm diameter around the seedling. When the temperature is below 18°C, avoid over-wetting the entire pot to prevent root rot.
### IV. Fertilization After Transplanting
7-10 days later, if new leaves emerge—congratulations! Transplanting was successful. Now apply diluted soybean dregs fertilizer or other high-nitrogen fertilizers to boost stem and leaf growth. Once roots penetrate the base fertilizer layer and the plant becomes self-sufficient in nutrients, frequent topdressing will no longer be necessary.
Follow these steps, and achieving "tomato freedom" is no longer a dream!
The Optimal Time for Tomato Transplanting
Share with
Tagged in :
Leave a Reply