
Phalaenopsis orchids are very popular ornamental plants, but during care, you may encounter the problem of air roots, which can severely affect the health of the plant. Actually, air roots aren't something to be afraid of. Once you understand what they look like, you can follow the proper steps to save them, and the orchid will recover just fine.
What Are Air Roots?
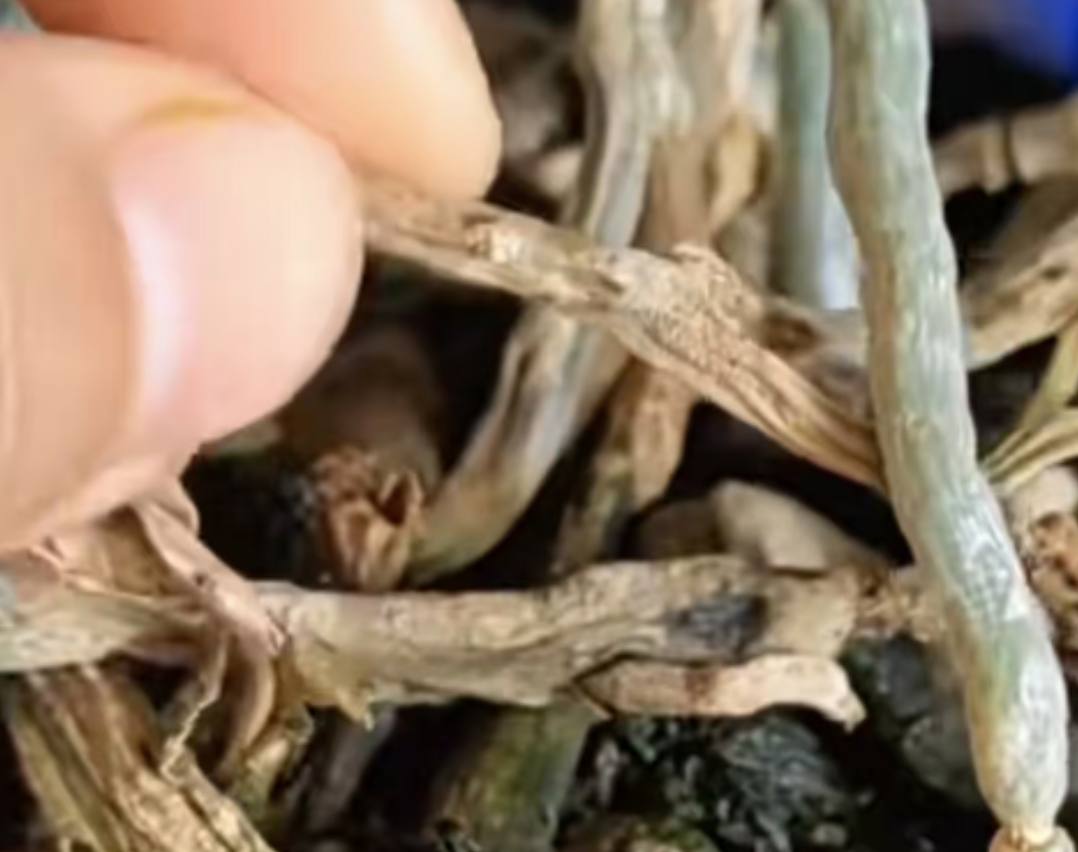
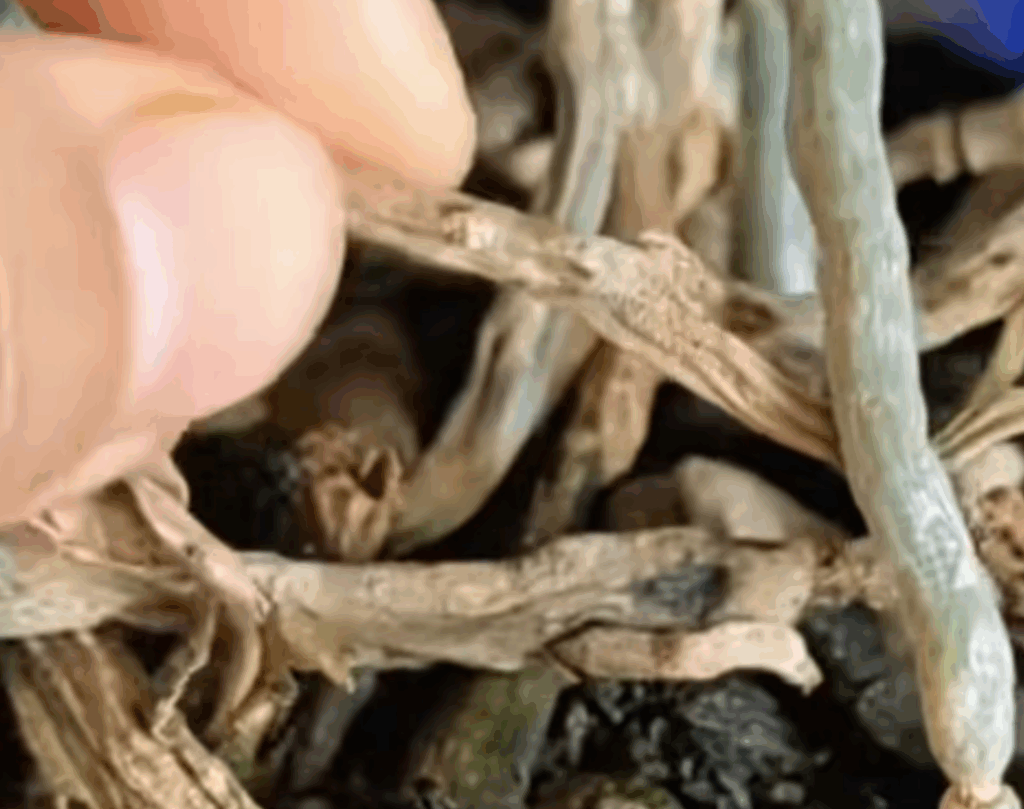
Air roots in orchids refer to the phenomenon where the root's fleshy tissue shrivels or decays, leaving only the outer skin and the central column. Normally, Phalaenopsis orchid roots are plump, white with a hint of green, firm, and elastic to the touch. When held up to light, you can even vaguely see the vascular bundles inside, similar to tiny straws that can absorb water. However, air roots look completely different: they may turn brown or grayish-brown, feel soft and squishy when squeezed, and flatten like wilted noodles. In some cases, the outer layer of the root may shrivel and peel away, exposing a thin, brown core that looks lifeless. In more severe cases, the root may become hollow, and when gently bent, it will snap without feeling moist, dry and brittle. If you notice roots floating in moss or bark in the pot without sinking into the substrate, it's most likely a sign of air roots. It’s time to pay attention.
Why Do Air Roots Occur?
Most of the time, air roots are caused by improper care. It could be because you haven’t watered enough, allowing the moss to dry out for several days, which means the roots haven’t gotten enough water and gradually shrivel. On the other hand, over-watering and leaving the substrate constantly wet can cause root rot, which also leads to air roots. Sometimes, the substrate may be used for too long, such as moss compacting or tree bark breaking down, which prevents the roots from breathing, and they eventually turn into air roots. But no matter the reason, don’t panic when you spot air roots. Follow these three steps, and you’ll likely save the plant.
Step 1: Remove the Air Roots Completely.
Get a pair of disinfected small scissors (just wipe them with alcohol), carefully remove the orchid from the pot, gently shake off the old substrate from the roots, and inspect them carefully. Any root that feels soft, brown, and lacking elasticity should be cut off completely from the base. Don’t feel sorry for these roots—they’re useless now, and leaving them would waste nutrients and even invite disease. After trimming, soak the roots in a fungicide solution for 10 minutes. Then, let them dry in a well-ventilated area until the surface of the roots becomes dry and non-sticky. Don’t skip this step as it helps prevent infection.
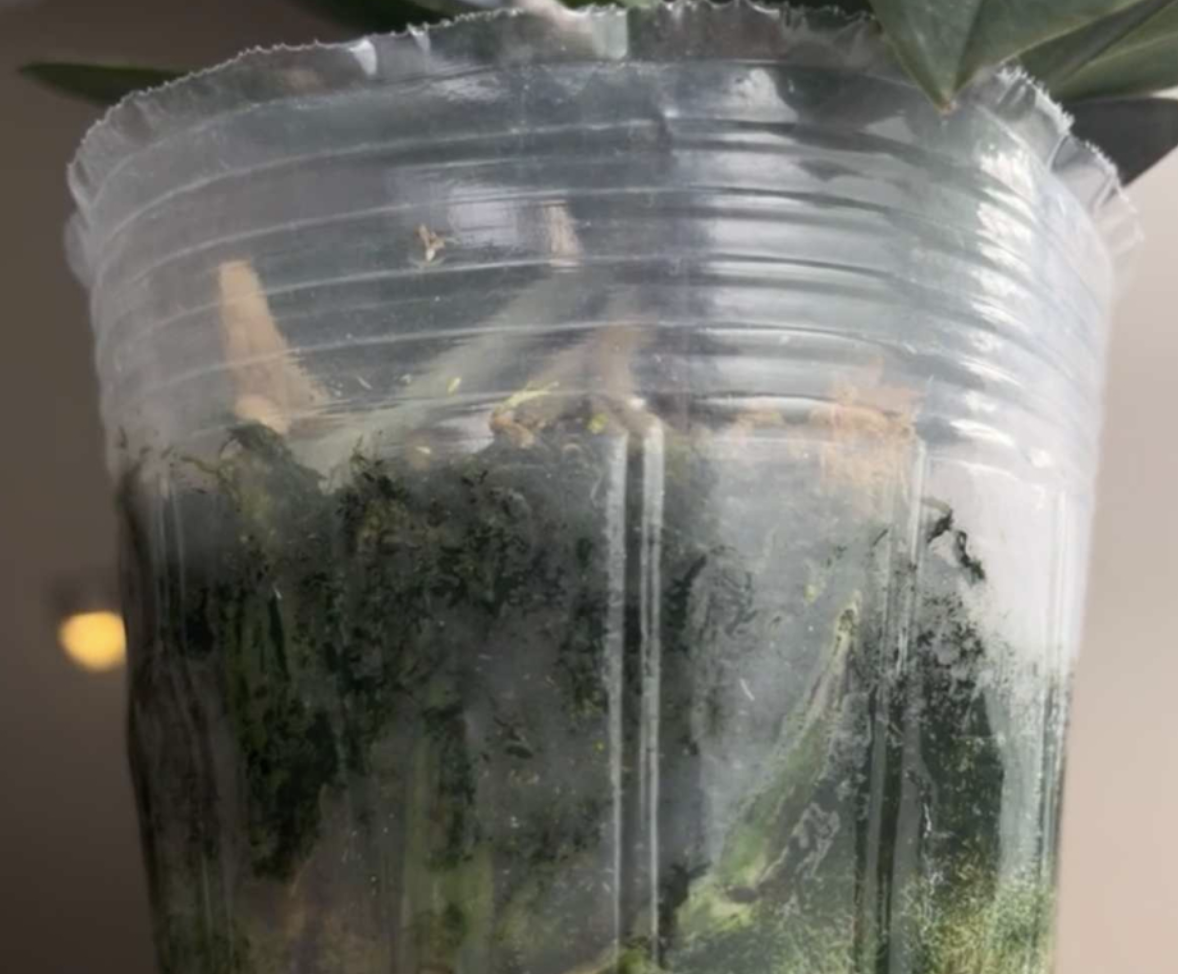
Step 2: Choose the Right New Substrate and Pot.
Don’t use regular soil—Phalaenopsis orchids prefer well-draining substrates. For beginners, pure sphagnum moss is the best option. Make sure to soak the moss beforehand, squeeze out the excess water, and leave it moist but not dripping. Alternatively, you can use well-rotted pine bark with pieces about the size of a fingernail; avoid using very fine bark. Choose a transparent plastic pot with several holes at the bottom and sides. This allows you to observe the roots and ensures good aeration and drainage. Avoid using non-breathable ceramic pots, as they can lead to air roots again.
Step 3: Re-pot and Care for the Orchid.
Start by placing a thin layer of moss or bark at the bottom of the pot. Position the orchid’s pseudobulb (the swollen base where the leaves grow) in the center of the pot. Gradually fill in the substrate around the roots, gently pressing down on the pot to ensure the substrate is in contact with the roots, but don’t press too firmly—otherwise, the roots won’t be able to breathe. After re-potting, place the orchid in a spot with indirect light, such as near a window with sheer curtains, and avoid direct sunlight. For the first week, do not water the plant. Once the roots have adapted to the new environment, start watering as usual—either soak the pot in water for 10 minutes to allow the substrate to absorb moisture or mist the substrate until the water drains out from the bottom.
In Conclusion:
Air roots are not a big problem as long as they are caught early and treated properly. With proper care, such as monitoring watering and ensuring good aeration, new healthy white roots will grow in no time, and the orchid will bloom beautifully again. Beginners shouldn’t give up after encountering air roots—after trying a couple of times, you'll gain experience!
Leave a Reply