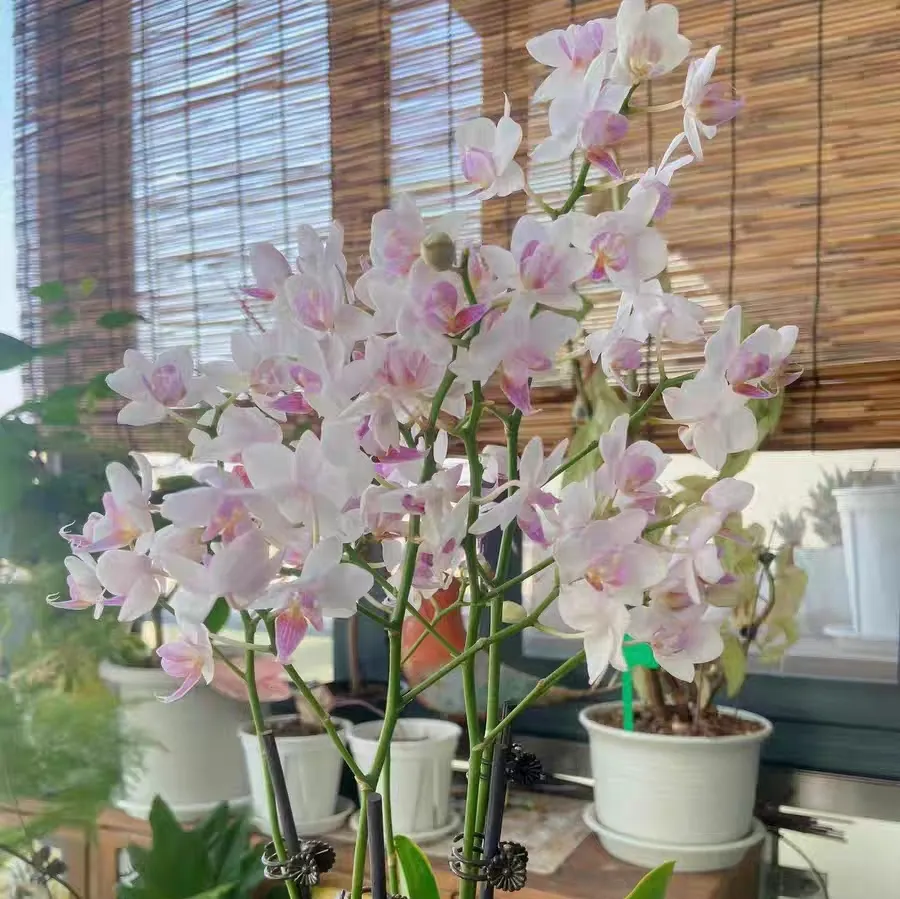
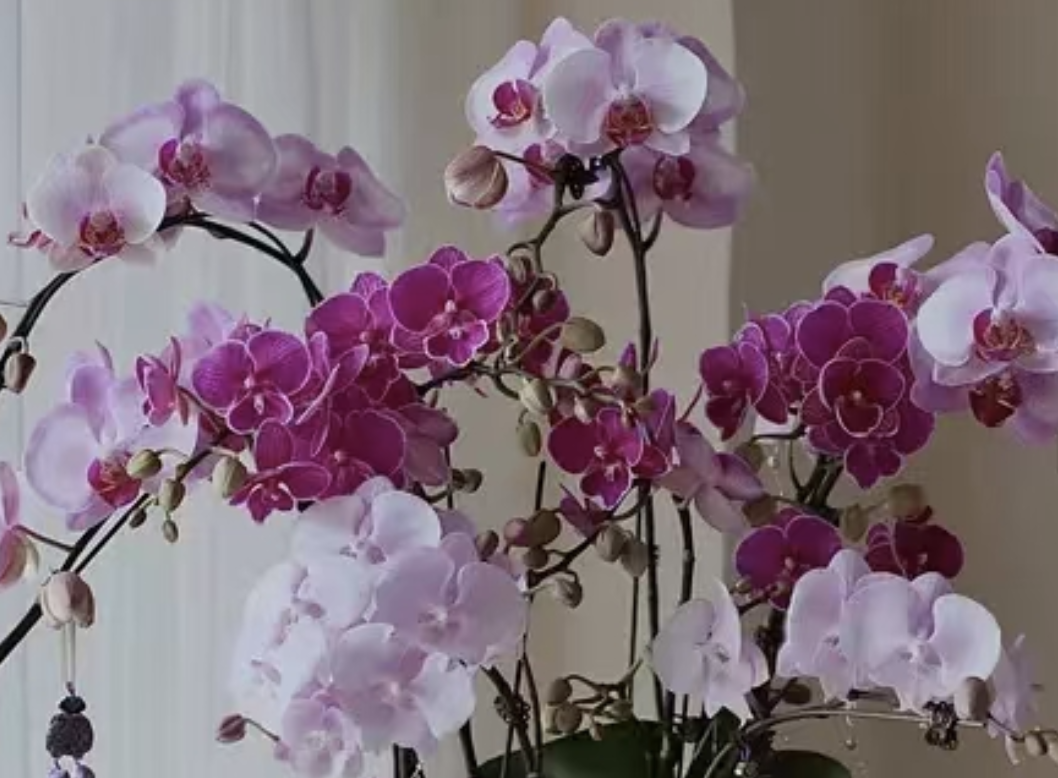
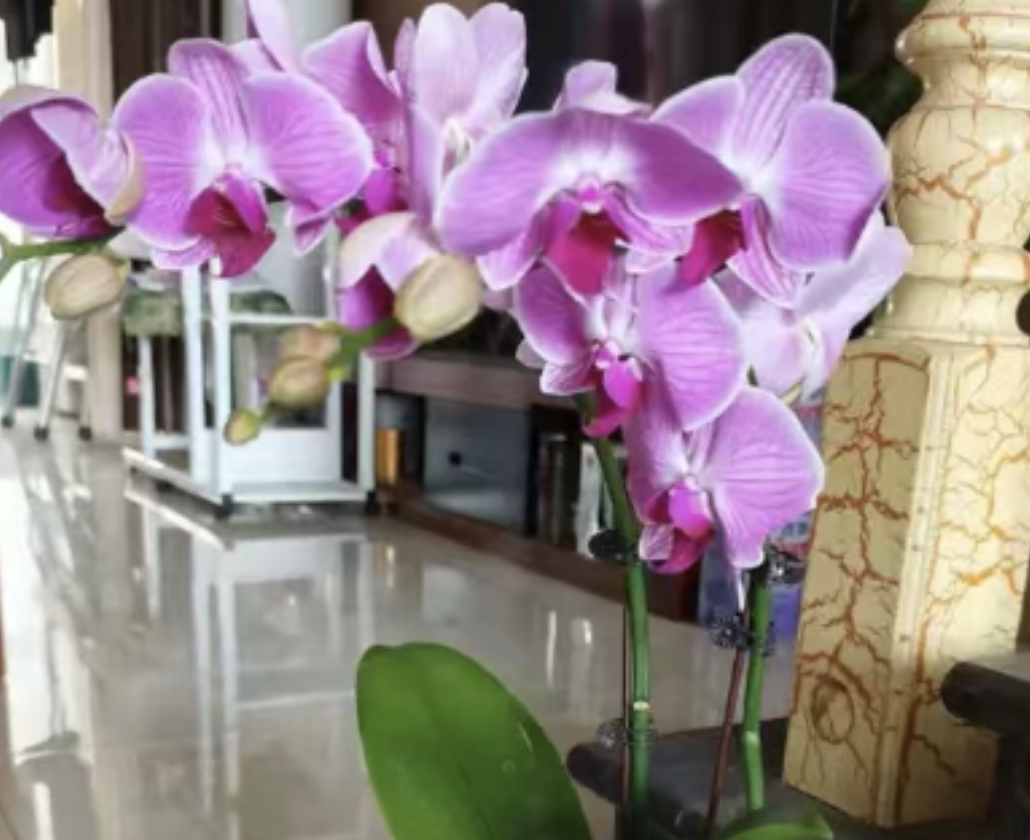
When it comes to "lazy people's blessings" in Phalaenopsis care, semi-hydroponics is definitely one of them! You don't need to struggle to remove old growing media or change pots frequently, and you can still keep Phalaenopsis looking vibrant. It's especially suitable for beginners who are afraid of trouble. How to do it specifically? It can be done in a few steps, let's talk about it slowly.
First, prepare these materials, which are common at home:
- Non-porous containers: leftover milk tea cups or coffee cups can be used. Just clean them. Don't think they're shabby; they're very practical.
- Volcanic rocks or ceramsite: choose either one, mainly used as a base to help separate water.
- Sphagnum moss: no need for new ones. The sphagnum moss that comes with the original plant can be used, saving you the trouble.
The operation steps are so simple that even beginners won't make mistakes:
1. Remove from the cup and prune: take it out gently, don't hurt the roots
First, take the Phalaenopsis out of its original pot. If the root system is too dense and clings tightly to the pot wall, making it hard to remove, carefully cut off a little of the outer roots with scissors. Remember, **never hurt the main roots**! Don't touch the sphagnum moss that originally wraps the roots. The key is to prevent the sphagnum moss from soaking in water. Later, using volcanic rocks or ceramsite to separate it can avoid water accumulation and root rot.
2. Place in the container: pad the bottom well and fix it stably
Lay a layer of volcanic rocks or ceramsite at the bottom of the selected non-porous container. It doesn't need to be too thick, just enough to cover the bottom. Then put the Phalaenopsis in, adjust the height so that the neck of the plant is 1-2 centimeters away from the mouth of the container for better ventilation. If the container is a bit wobbly, stuff some sphagnum moss to fix it, as long as the plant doesn't tilt.
3. Watering and fertilizing: pour along the edge, don't let water accumulate
When watering, pour slowly along the edge of the container. Don't pour heavily into the center of the sphagnum moss, otherwise, it's easy to accumulate water. The sphagnum moss will absorb some water, and the excess water will flow to the bottom of the cup, keeping the roots in a "moist but not soaked" state, which is very comfortable for them. Fertilizing is also simple: water with clean water once, and then use water-soluble fertilizer next time. No need to do it too often, which is convenient.
If you pay attention to these points, there will basically be no problems:
- Don't leave too much water at the bottom of the cup, just a little. Too much will easily soak the roots and cause rot, just like we don't fill the cup when drinking water.
- Remember to water "along the edge". If water accumulates in the center of the sphagnum moss, the roots will easily get stuffy and damaged. Keep this in mind.
- If you use sphagnum moss, check it from time to time to see if there are white salt deposits, water scales, or if the sphagnum moss turns gray and alkaline. If so, quickly rinse it with tap water and put it back into the container after cleaning.
- In hot summer, never water from top to bottom. Just leave a little water at the bottom of the cup. At the same time, place it in a well-ventilated area and avoid direct sunlight, otherwise, the container will be like a small steamer, and the roots can't stand it.
This semi-hydroponic method is very friendly to beginners, and you can even reduce the number of waterings. Usually, check the root system occasionally. If it's not black or sticky, everything is fine. It's worry-free and can keep the flowers well. Isn't that what we want?
Phalaenopsis in semi-hydroponic culture is prone to root rot.

Share with
Tagged in :


Leave a Reply