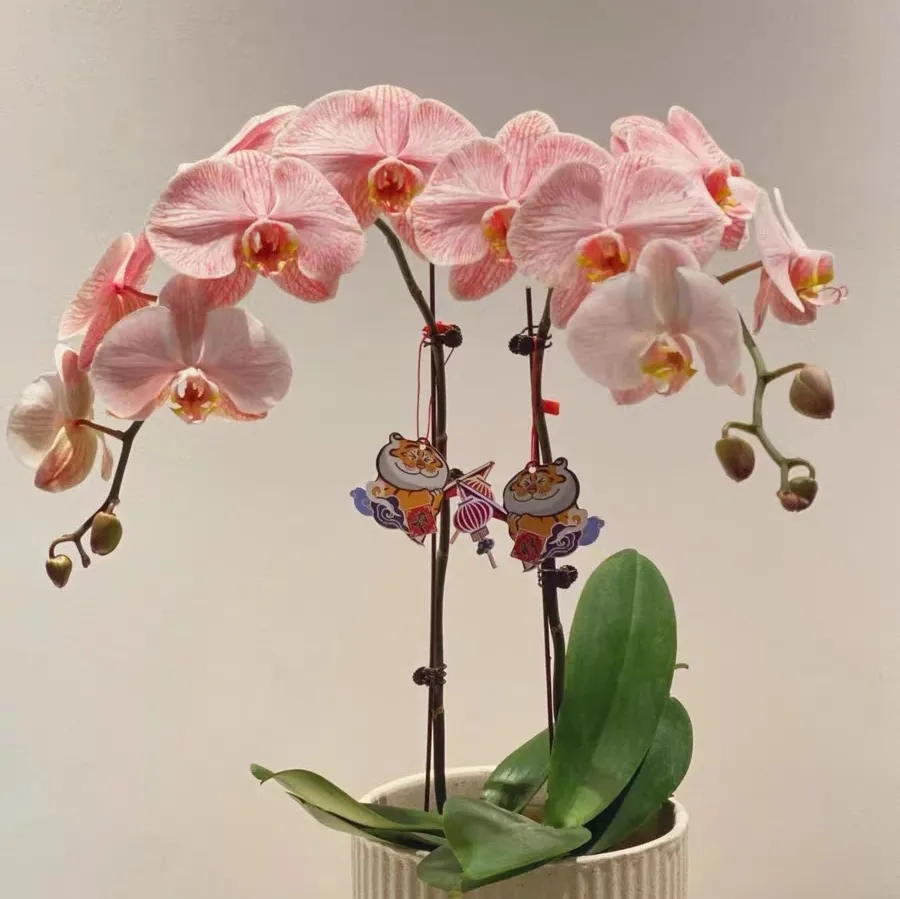
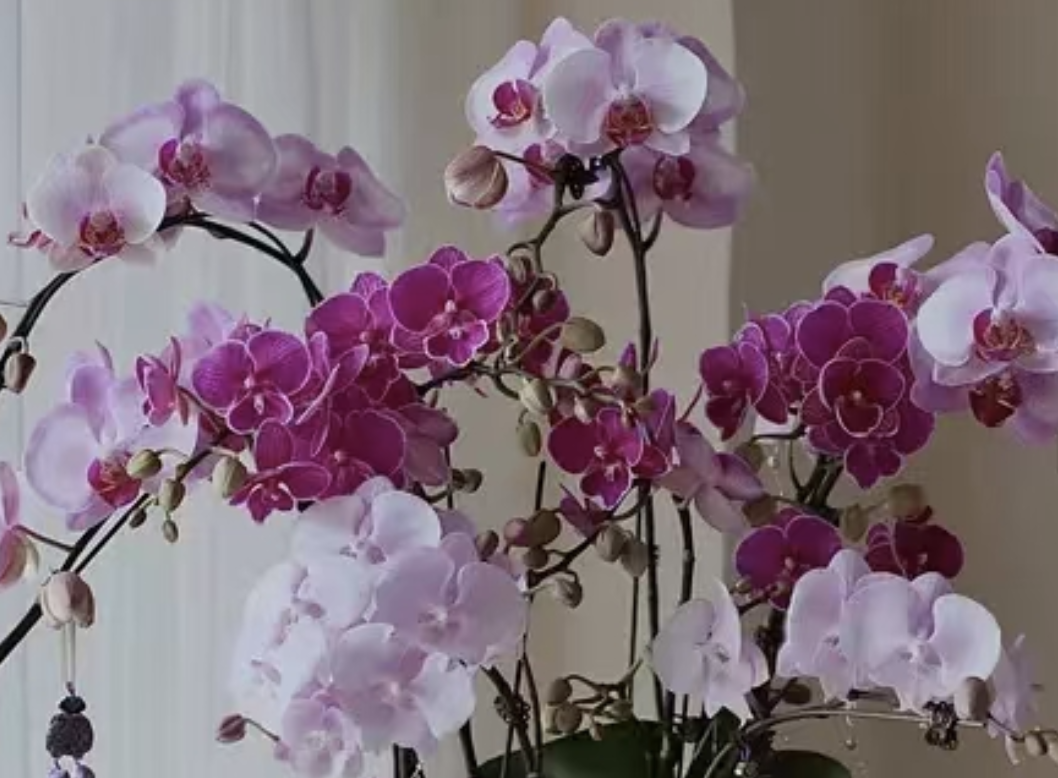
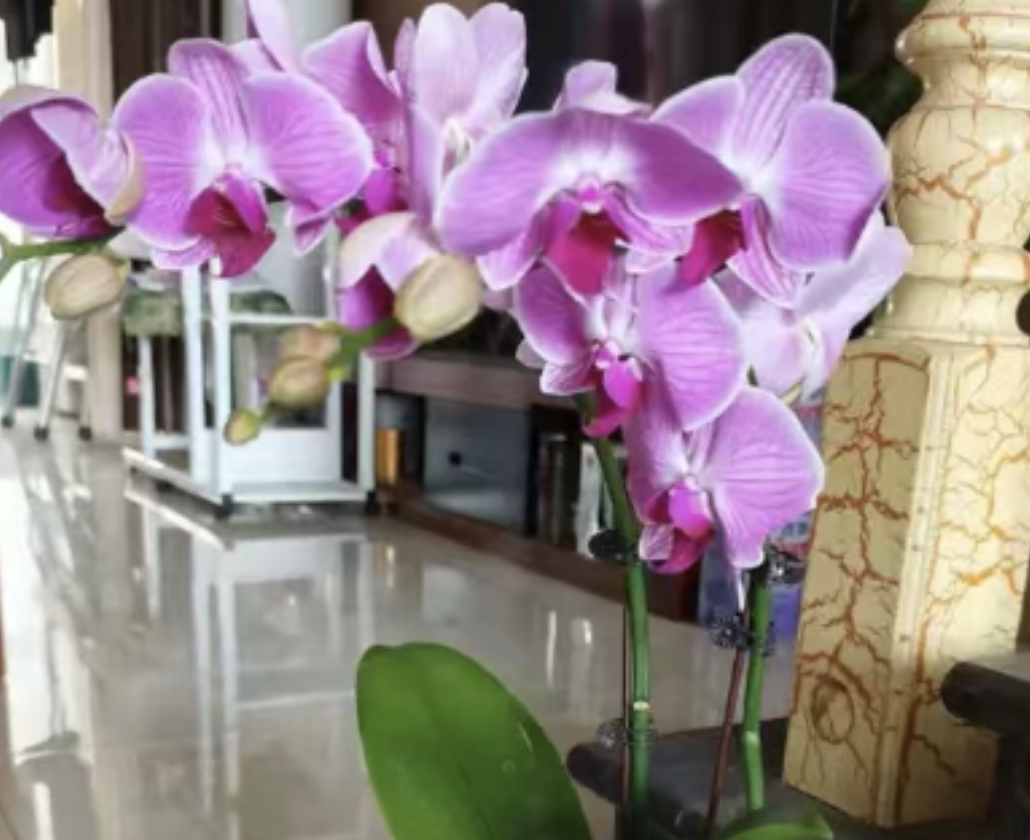
Many flower enthusiasts want to try hydroponic Phalaenopsis, thinking it's clean and easy to care for. However, hydroponics isn't just about moving a soil-grown plant directly into water. The roots need to first adapt to the aquatic environment, which is called "acclimatization." This process isn't overly difficult; the key steps lie in removing the plant from the pot, cleaning the roots, pruning and disinfecting, and controlling water to help adaptation. Do these well, and the Phalaenopsis will take root nicely in water, blooming vibrantly as usual.
### I. Preliminary Treatment
First, gently remove the Phalaenopsis from its original pot. The old sphagnum moss wrapping the roots must be completely cleaned off. If the moss sticks tightly, don't pull it hard—use flowing clear water to rinse it slowly. The water flow should be gentle, like giving the roots a "shower." Never rub vigorously, as this might break healthy root hairs.
After rinsing, carefully inspect the root system: cut off all black, slimy rotten roots, shriveled and thread-like hollow roots, and hollow diseased roots with disinfected scissors. Only keep the plump, grayish-green healthy roots—these are the "main force" for hydroponics.
Don't soak the roots in water right after pruning. First, disinfect the wounds: take a shallow basin, pour in a carbendazim solution, soak the roots for 15 minutes, then take them out and place them in a well-ventilated, cool area to dry. Let them dry for about 1-2 days until the wounds become dry and slightly wrinkled. This step is to prevent root rot after submerging in water, so don't skip it!
### II. Acclimatization Methods
Hydroponic acclimatization is like teaching the Phalaenopsis to "swim"—it needs to be done step by step. Beginners can choose any of these three methods, which have been tested and proven effective:
1. **Wet-Dry Alternation Method**:
In the beginning, only let the roots soak in water for 2 hours a day, leaving them exposed to air for the rest of the time, like a "tasteful trial." After a few days of adaptation, gradually extend the soaking time, and finally stabilize it at 8 hours a day. This process takes about 2-3 weeks. If new rotten roots are found during this period, cut them off immediately and disinfect to prevent the bad roots from "infecting" the healthy ones.
2. **Shallow Water Induction Method**:
Find a transparent container and fill it with water just enough to touch the bottommost roots, like building a "step for drinking water" for the roots, allowing them to slowly grow downward to absorb water. Remember to change the water once a week and observe the root condition. When white, tender new roots start to emerge, it means half the battle is won!
3. **Lazy Quick Method**:
If the first two methods seem troublesome, directly soak the roots in water (note: don't submerge the leaves or root neck, as this can cause rot). Change the water once a week and promptly cut off any rotten roots found. After about 2 weeks, you'll see thin new roots growing from the old ones—even lazy people can handle this easily.
### III. Details Not to Be Ignored
No matter which method you use, the water level should be 0.5 cm lower than the root neck, like leaving a "breathing hole" for the root neck; otherwise, submerging it can lead to rot. A transparent container is best, as it allows you to check the root growth at any time and spot hidden rot early.
The frequency of water changes depends on the season: in comfortable spring and autumn, change water every 7 days; in cold winter, when water evaporates slowly, once every 14 days is enough. It's best to use boiled and cooled water or rainwater. For tap water, let it sit for 1 day before use to avoid chlorine harming the roots.
During acclimatization, place the container in a location with scattered light and good ventilation, like finding a "shady viewing platform" for it. If the leaves suddenly turn red, it means the light is too strong—quickly provide shade. Once shiny, crystal-like roots grow, you can lower the water level a bit to let the roots breathe more fresh air.
Don't worry about occasional root rot during acclimatization—it's normal. As long as there are enough healthy roots, there's no major problem. Especially strong seedlings with developed root systems have a higher success rate in hydroponics, so beginners can prioritize choosing these.
In fact, hydroponic Phalaenopsis isn't that hard. As long as you clean the roots thoroughly in the early stage and be patient during acclimatization, watching the roots grow new ones little by little brings a sense of achievement no less than soil cultivation. Moreover, it looks clean on the table and remains elegant when blooming!
What are the tips for hydroponic acclimatization of Phalaenopsis?

Share with
Tagged in :


Leave a Reply